|
1. To focus on shutter speed, I had to set the camera to "shutter priority" on the dial versus "aperture priority". On the top dial of the camera, I simply switched it to the "S" on the dial. Setting it to shutter speed priority focuses on capturing movement of what is in front of the lens.
2. When the shutter speed is altered, clarity of movement in front of the lens is either very distorted or very clear. The lower the shutter speed, the more abstract and the movement isn't captured as clear as a higher shutter speed would. With that being said, the larger the shutter speed, the clearer the movement is captured. For the first photograph, the girl in the front is the center focus. The people behind her are jumping, and as they jumped I snapped the photo. Since the shutter speed is low, the motion of them jumping makes the photo to be contorted, and their movement isn't as clear or captured as it would be if the shutter speed is higher. Comparing the photo with a shutter speed of 1/3, to the last photo with shutter speed of 1/1000. The people in the background look like they are floating, but really with the higher shutters speed captures them clearly in mid-air. 3. When to use shutter speed all depends on the photographers intention, of what he or she wants to express through the photo. For example, to capture the motion of someone running, a lower shutter speed would visualize movement. To capture a close-up of planes flying in the air, a higher shutter speed would freeze that moment in the air. 4. Notes on shutter speed -Shutter speeds are both a technical and aesthetic choice a photographer needs to make before releasing the shutter
0 Comments
The Daguerrotype: The Daguerrotype system was invented by Louis Daguerre in 1839. He built off of Nicéphore Niépce, the inventor of the first photograph.Before then, nothing was available to capture a moment like photos do. To make a daguerrotype, one would polish a sheet of silver-plated copper to a mirror finish, treat it with fumes that made its surface light sensitive, expose it in a camera for as long as necessary , which could be as little as a few seconds for bright sunlight to make the resulting latent image on it visible by fuming it with mercury vapor; remove its sensitivity to light by liquid chemical treatment, rinse and dry it, then seal it behind glass. 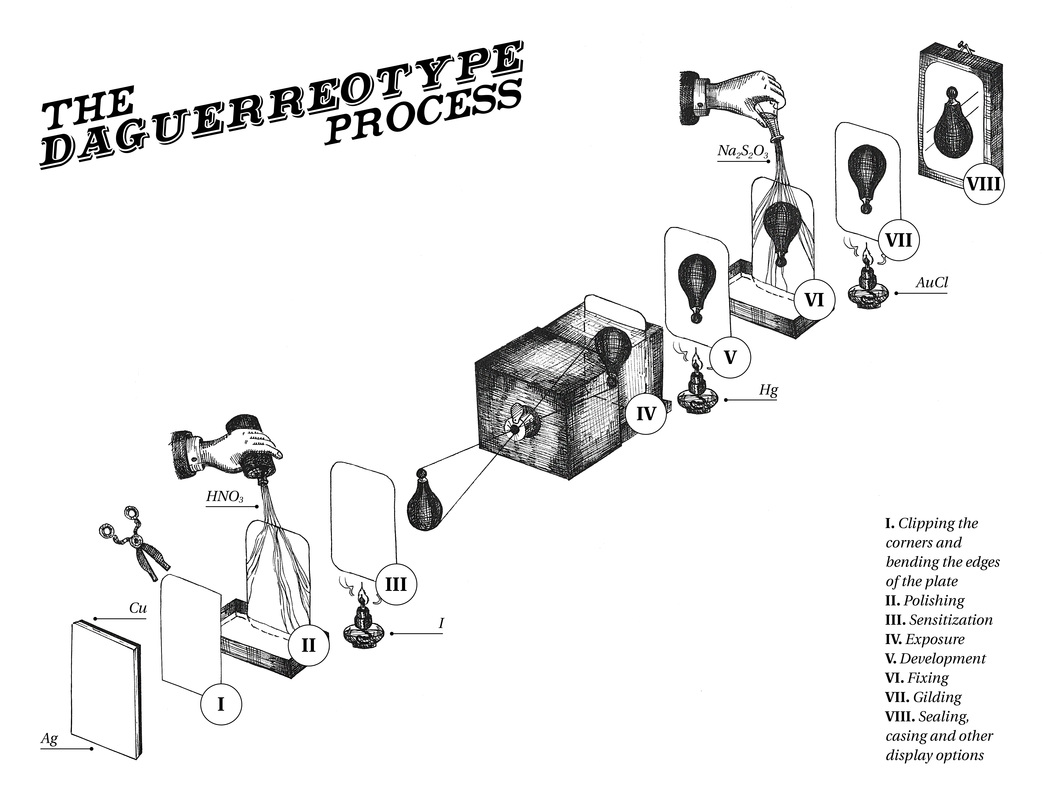 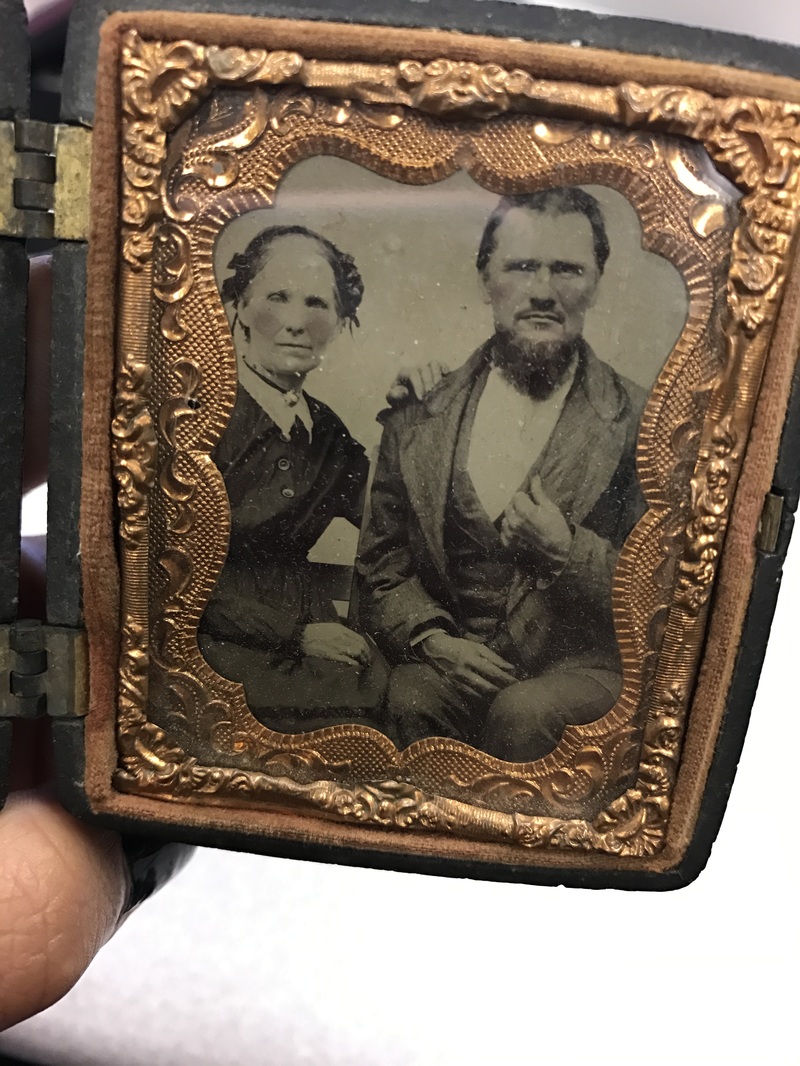 The Cyanotype: The Cyanotype was developed by Sir John Herschel in 1842, it's been said that he could have been the inventor of photography if he pushed his work to it. Anna Atkins promoted the cyanotype by publishing several books that documented ferns and other plants. The cyanotype became known as the blueprint. The chemicals used to produce the cyanotype are potassium ferricyanide and ferric ammonium citrate. In the procedure, the two solutions are mixed, the mildly photosensitive solution is then applied to a receptive surface (paper or cloth) and allowed to dry in a dark place. Cyanotypes can be created on any surface that absorbs iron. Once the photo is developed, the picture is unreacted and yellow. Running it under water will create the blue effect. Step by Step to create a Cyanotype:
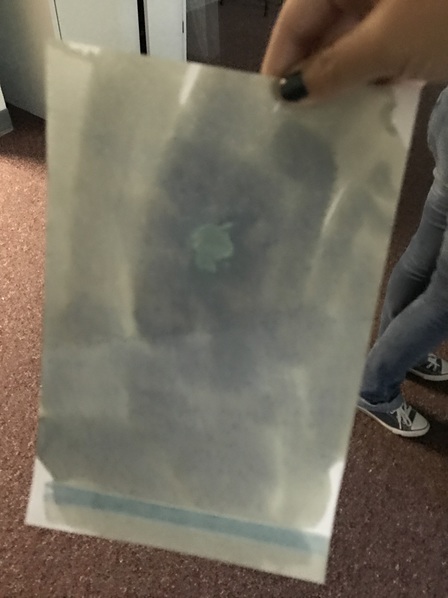 Before with first cyanotype 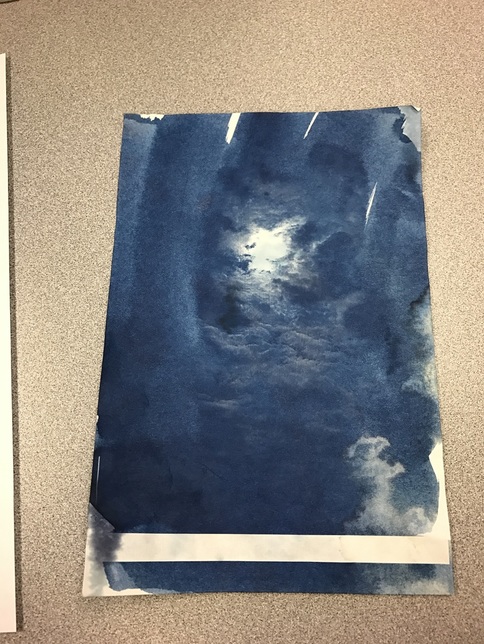 After of first cyanotype with digital negative 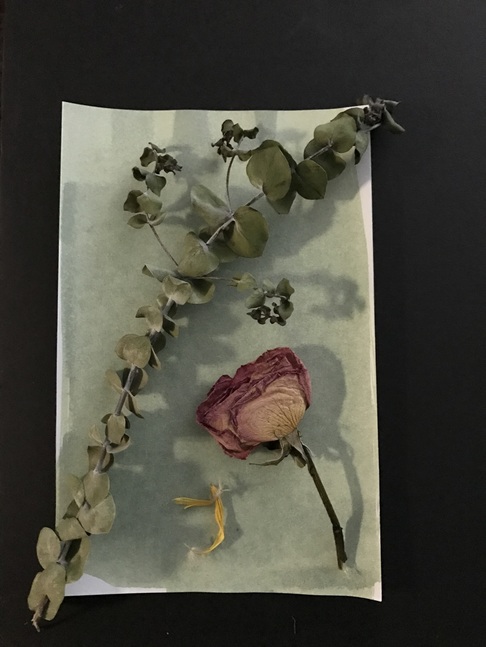 Before of second cyanotype with botanicals 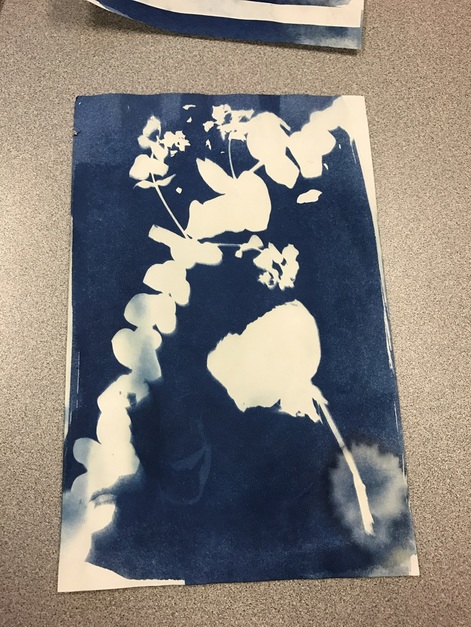 After, second cyanotype with botanicals 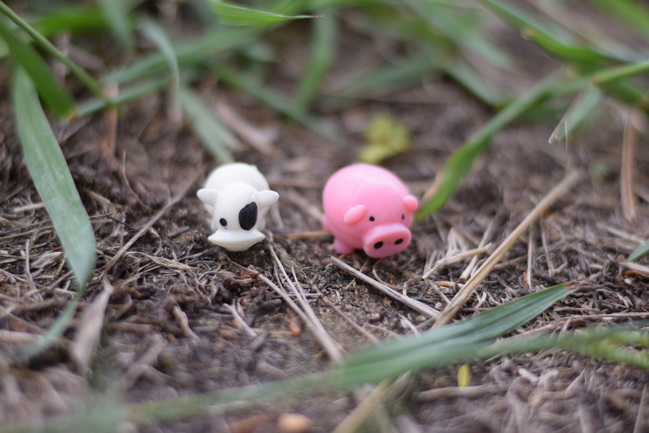 "Milky and Piggy, Lost in the Jungle!" Aperture f/1.8, Shutter Speed 1/3,200, ISO 400 Piggy and Milky are lost and alone. They need to find their way back home! At the farm is where they need to be, but instead here they are, in the jungle unclear of the way go. How will they get to the farm? 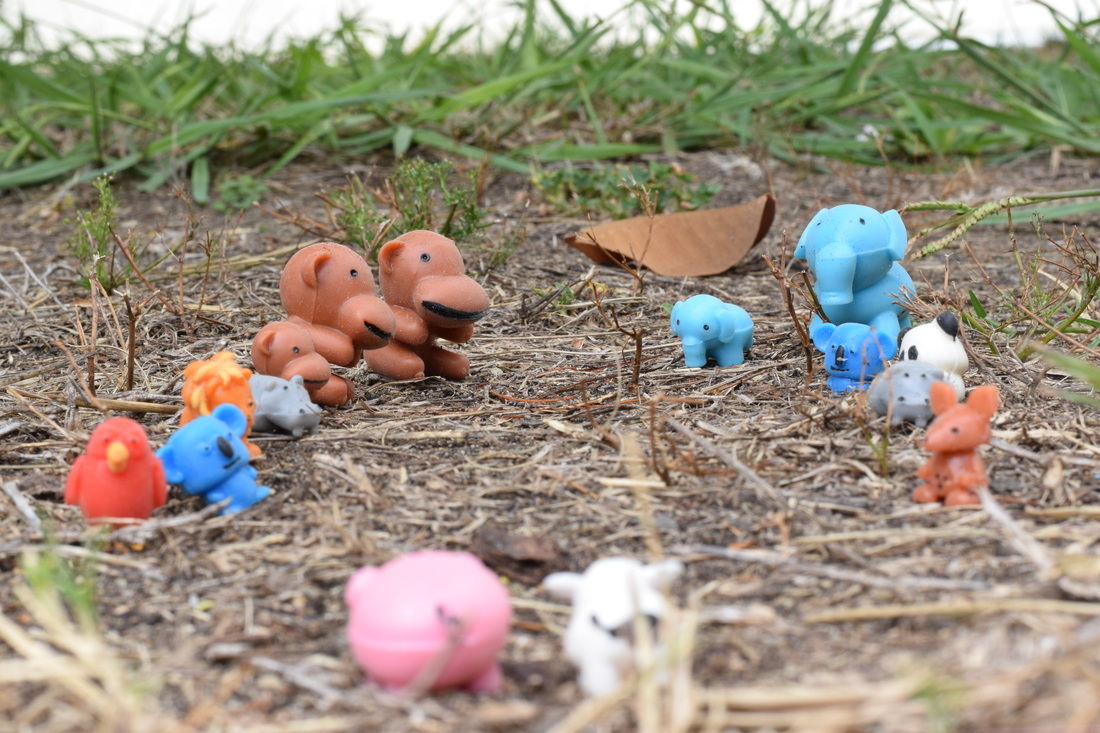 "Pathway of Jungle Animals", Aperture f/16, Shutter Speed 1/125, ISO 400 Piggy and Milky find themselves far away from the farm. The way they will find their way home is to ask the animals they meet for directions. All these jungle animals look intimidating, they must be brave! 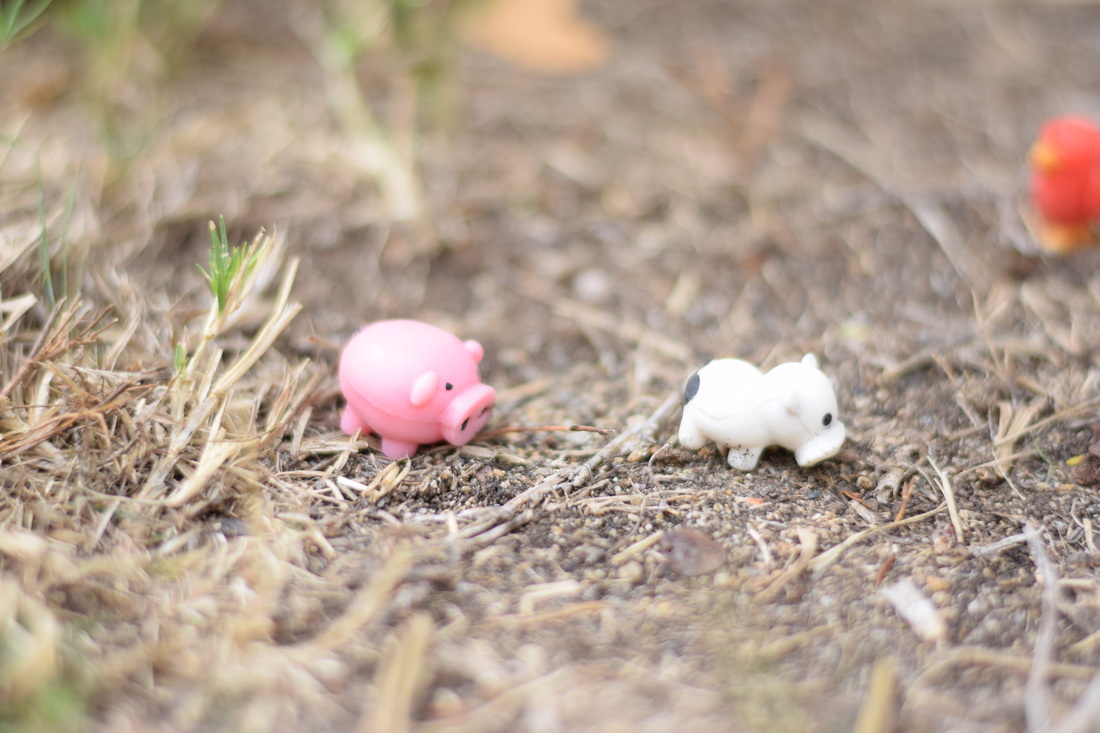 "Milky is brave!" Aperture f/1.8, Shutter Speed 1/4,000, ISO 400 Piggy is scared to ask for help, but Milky is brave. Milky will ask the jungle animals for the directions they need to get back to the farm. 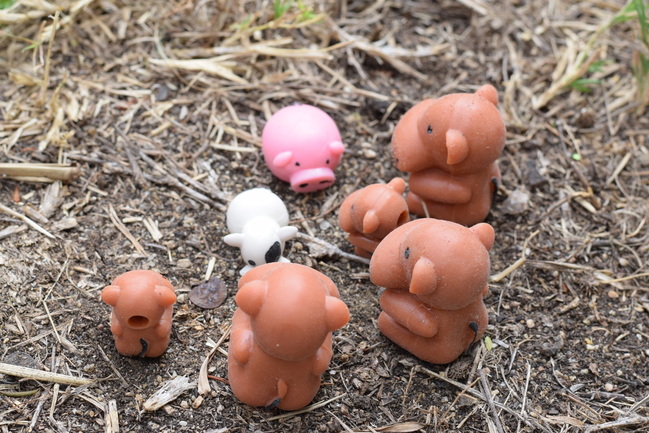 "The monkeys are bullies!" Aperture f/8, Shutter Speed 1/320, ISO 400 Before they can move forward, the monkeys of the jungle surround Milky and Piggy. They are unsure of what to do since the bully monkeys outnumber them. The monkeys are known for being mean to the new animals that enter the jungle, but what will little Piggy and Milky do? 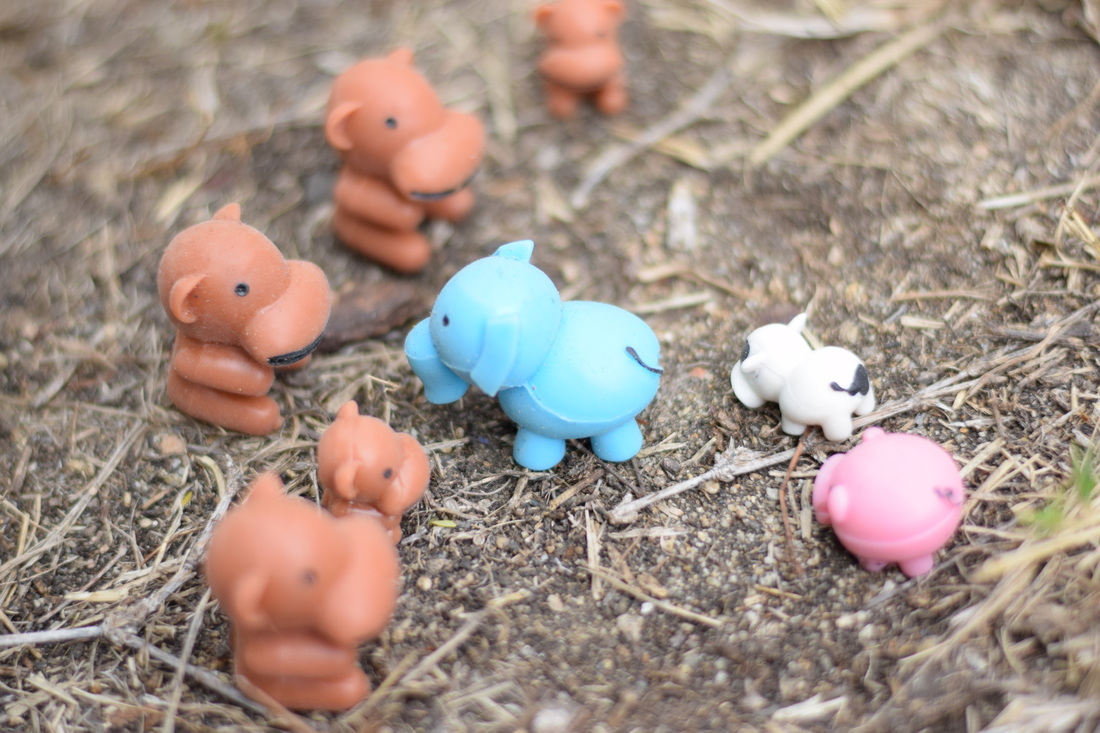 "Hero to the farm animals" Aperture f/1.8, Shutter Speed 1/4,000, ISO 400 The nice blue Elephant saves Milky and Piggy! She goes to scare off the monkeys, and her and all the other jungle animals lead them the way towards back home at the farm. Piggy and Milky are now on their way to the farm, with the help of the nice elephant and jungle animals. 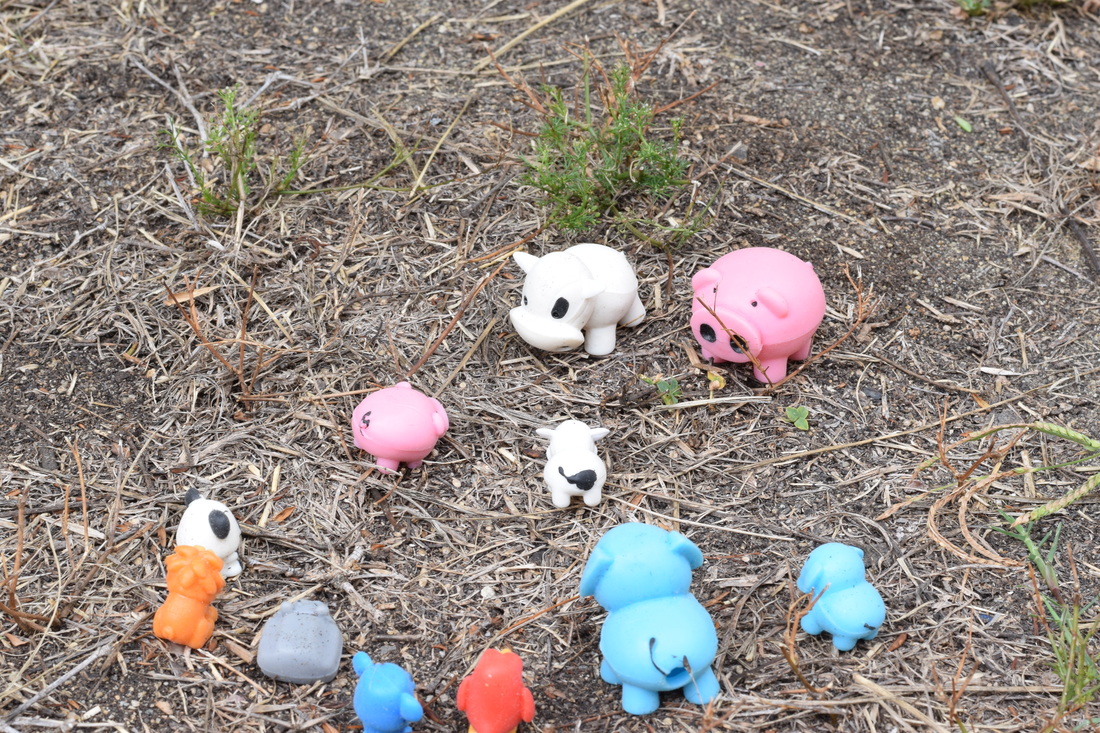 "Home Sweet Home!" Aperture f/1.8, Shutter Speed 1/4,000, ISO 400 Milky and Piggy were able to escape the mean monkey's tormenting. Without the blue elephant and the nice jungle animals, Milky and Piggy would not have been able to get back to the farm. They made sure from now on to never wander off from the farm again!
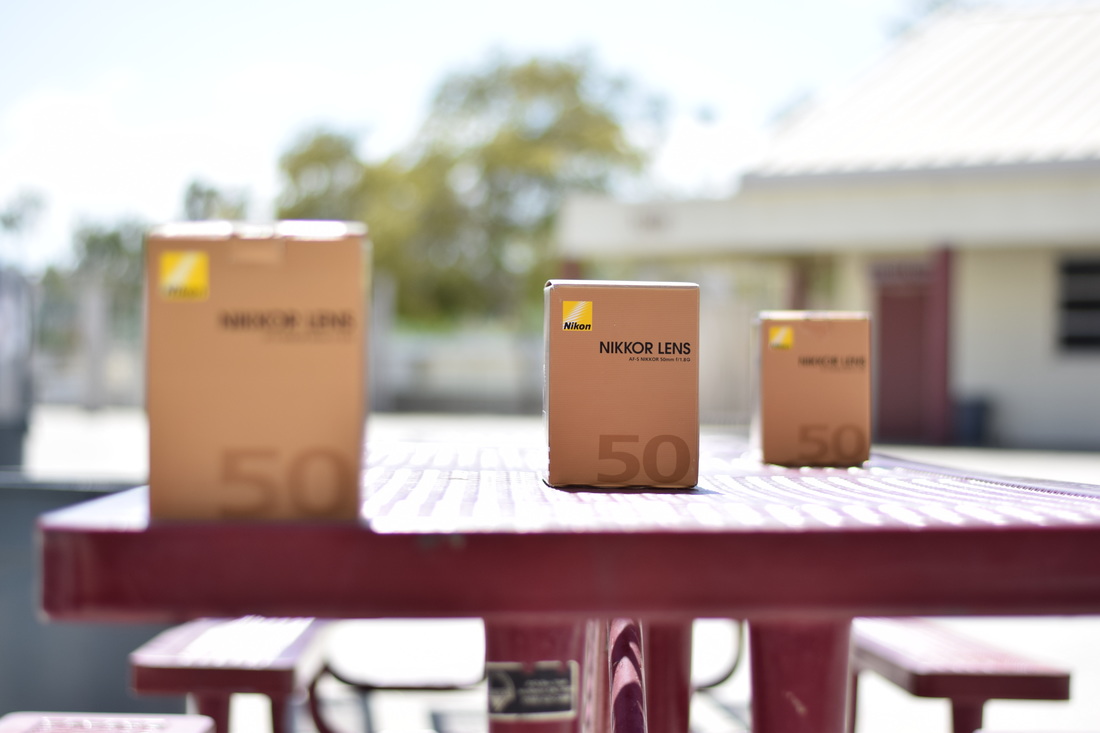 Aperture f/1.8, Shutter Speed 1/4,000, ISO 200 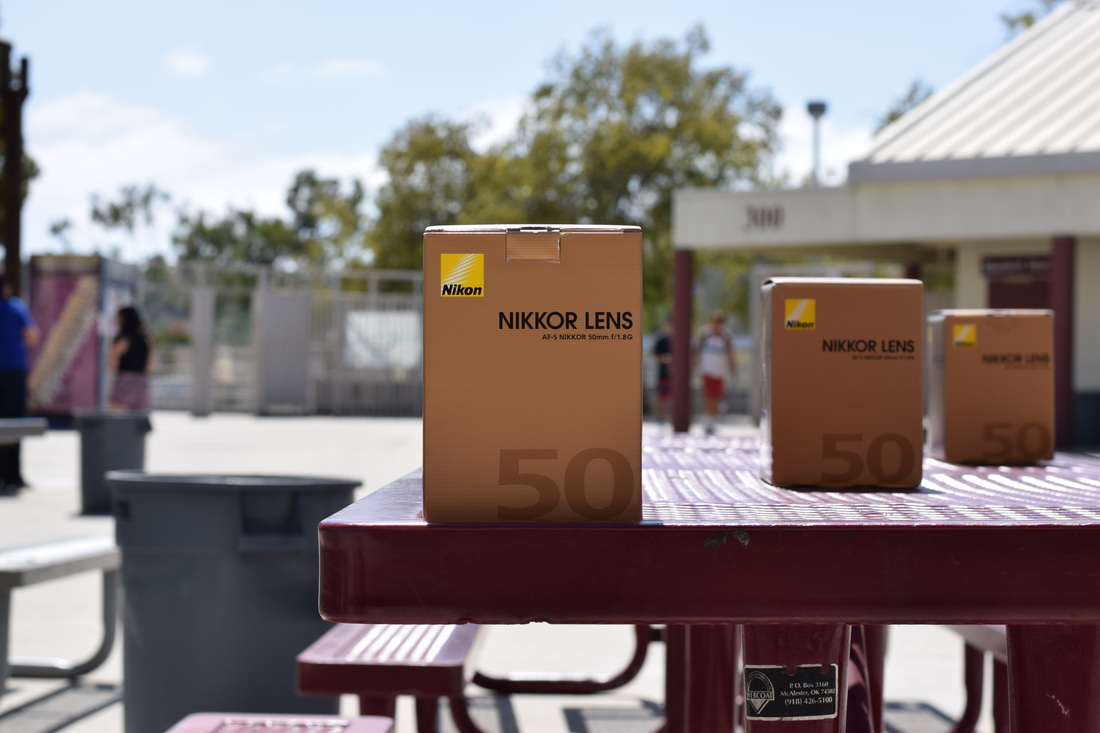 Aperture f/8, Shutter Speed 1/640, ISO 200 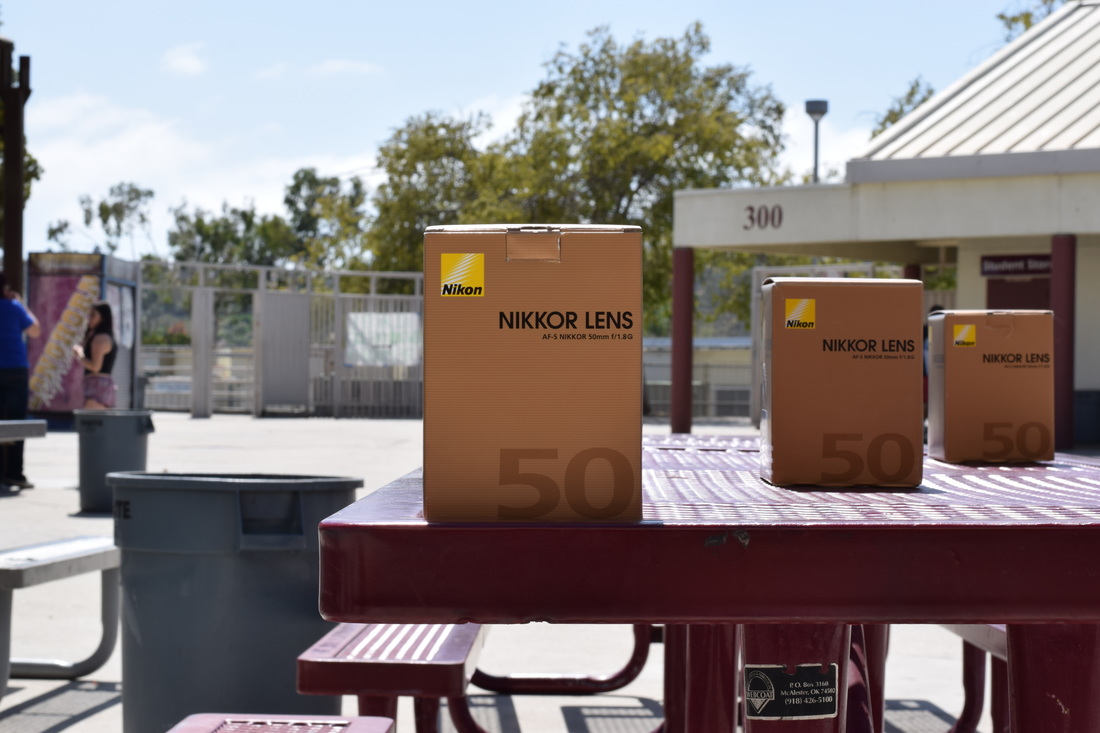 Aperture f/16, Shutter Speed 1/160, ISO 200 For each picture, the first and closest box is what should be focused on. My first photo actually focused on the middle box, but that's okay because the aperture is well captured. With that first photo, everything other than the middle box is blurred out. The reason and key to that was because of the aperture. The aperture of that photo was f/1.8, which was the smallest capability. With a small aperture, the DOF, or depth of field, is decreased. Everything that is blurred out in that first photo is what could be a wider depth of field, but because of the smaller aperture, the camera focused on the middle box and blurred everything around it.
The second photo taken has an aperture of f/8. We increased the aperture to increase the depth of field, and this time it is focused on the first and closest box. The photo isn't a hundred percent clear, but there is a significant difference with the amount of blur. You can tell with the blurred people and tree in the background, they're not focused on, but the figures are formed whereas with the photo with f/1.8 aperture, those objects in the background can't be formed. The third and final photo taken has the largest aperture of the three taken. It has an f/16, which has a large depth of field. In other words, everything is almost fully clear, with little blurred out. All three boxes are clear, the background is somewhat blurred, but everything can be clearly formed and figured. Since it has a large aperture, the depth of field is increased. The first photo had small aperture, so everything was blurred other than the box focused on. While the last photo had a large aperture, everything can be seen, everything past the focused box can be seen, the depth of field. What DSLR stands for
Diagram of a camera
 Camera obscura means dark room. It's the natural optical way of projecting an image on a wall. It starts out with a room pitch black, and a tiny hole on the side where natural light shines in, AKA the sun. On the other side of the wall, will project what is outside, upside down. It's the tangible image of what our eyes see before our brain flips it upright. Later improvements of the camera obscura involved putting in a lens or two to reflect it where you please. The start of the camera obscura and its improvements led to the creation of images being captured with the camera. 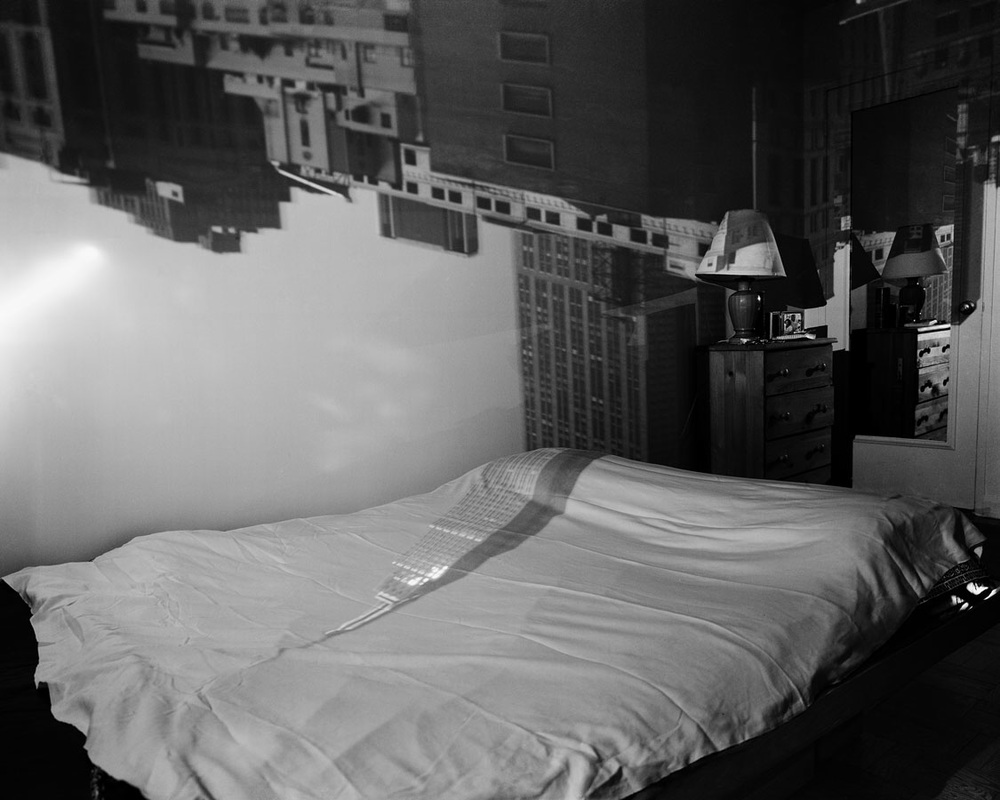 Our photography class was bale to experience a camera obscura. Our teacher, Mrs. Moncure, called us in two at a time into her dark classroom. A student and I were the first of her period to be called in, my first impression was that I was in trouble because the room was dark and she said "stand right there", pointing towards the wall where she had it. We sat and she had us hold up a box, that had one of it's side cut out, and she asked us "what do you see?". I thought it was a video or something because things were movie on the projection. The student that was with me said he saw a tree and people, and then right away I saw what was on the outside, upside down.
|
AuthorHigh school student learning how to capture priceless moments through a lens. Archives
May 2017
Categories |
 RSS Feed
